Hi Everyone!!! Let's check out some details about NEWMAN 😊
Newman gives the capability of running Postman collections through the command line. It basically helps you automate your Postman tests with ease.
Got some insight on this from my daily worklife. So why wait Let's get started!
Basic Steps of NEWMAN Kickstart:
- Step 1: Install NodeJS
- Step 2: Install Postman's Newman
- Step3: Create a Collection and Running Tests Scripts
- Step4: Exporting Postman Collection and its associated Environment file if applicable
- Step5: Running the Collection in Newman
Step1: Install NodeJS
Installing NodeJS is pretty straight forward, visit their download page here, download your platform version to install.
Note: Kindly make sure to install the latest higher version.
After installing, go to your Terminal and enter the command below to check if everything is fine to go.
You should see an output similar to the one below:

Step2: Install Postman's Newman :
Now that NodeJS is set up, we need to install "Newman" and some NodeJS modules that will be useful for our test report generations.
Run the below command:
- npm install newman request rimraf newman-reporter-html newman-reporter-htmlextra --save --force
After installation you will see similar output:
Step3: Create a Collection and Running Tests Scripts
In Postman select "New" >> "Collection". Give a name to the collection. I’ll be using a sample collection in my local which has Test Scripts designed already just for the purpose of the explanation.
Sample Collection with Test Scripts: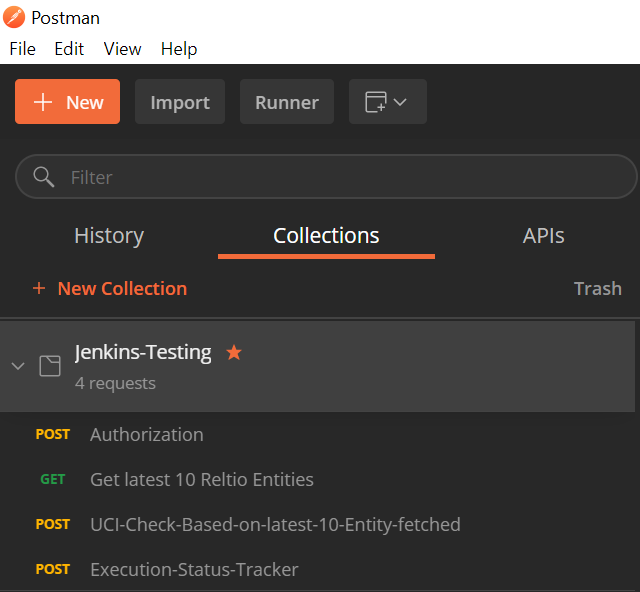

Step4: Exporting Postman Collection and its associated Environment file if applicable
Under the ‘View more actions' option of the collection, select ‘Export’.
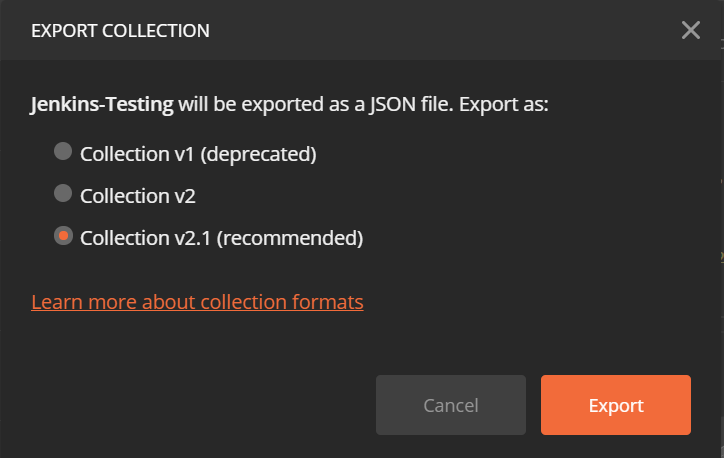
Save the Collection to your local directory. The collection should be saved as a .postman_collection json file.
Note: To export the environment variables, Go to the ‘Manage Environment’ section from the top right corner and click on Download, environment file will be downloaded as .postman_environment json file

Step5: Running the Collection in Newman
Open the terminal and navigate to where the Postman Collection and associated environment json file is saved. To execute the tests run the below command:
newman run Jenkins-Testing.postman_collection.json -e Reltio-MDM-UCI.postman_environment.json --export-environment Reltio-MDM-UCI.postman_environment.json
Similar output will be prompted:

Collection executed successfully through the command line.
Now somebody might think why did I pass the environment file twice in a different way. Let me explain it why?
The Collection that I used above for my explanation needs an access token to be generated freshly for each run. Could we not just attach a token to the tests, export the collection and put them into our CI? No we can’t. That would work for a while but the tests would fail once the access token expires. So any access token I attach to my Postman collection to run in CI is eventually going to be invalid.
We need a way of automatically generating a fresh access token and passing it into our Postman tests. In CI terms, we need to be able to generate an access token on every run of tests. In order to achieve this, I have added an environment variable to store the access token that gets generated by a request of Authentication. So now when we send a request for an access token we can now grab that access token from the response and attach it to any future responses we need. But wait a min by POSTMAN the scenario will work fine but NEWMAN does not update the environment variables file during a run of tests. So to save the new values of the environment variables after a collection run, simply add this argument when running the collection that updates the variables: --export-environment OurEnvironmentFile
In our case :
newman run Jenkins-Testing.postman_collection.json -e Reltio-MDM-UCI.postman_environment.json --export-environment Reltio-MDM-UCI.postman_environment.json
That’s it and now we are familiar with the basics of NEWMAN.
Hope the article was useful! Happy Learning! 😊
 Hey Guys!!! Greetings For The Day!!!

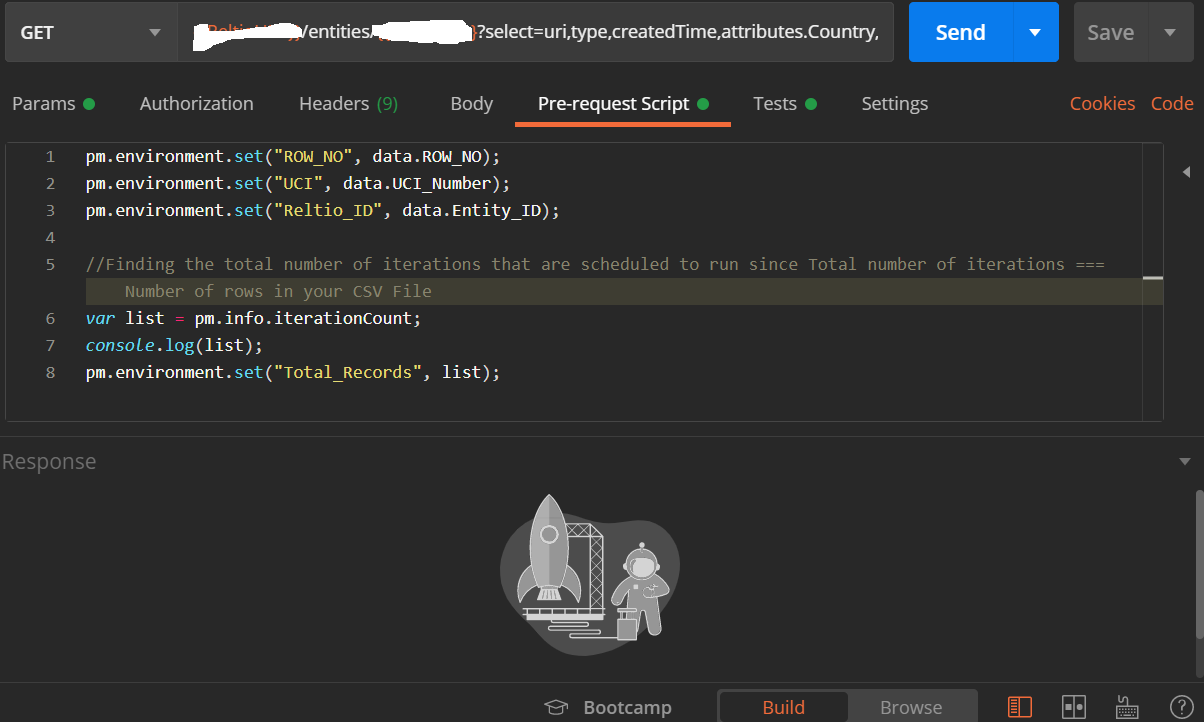
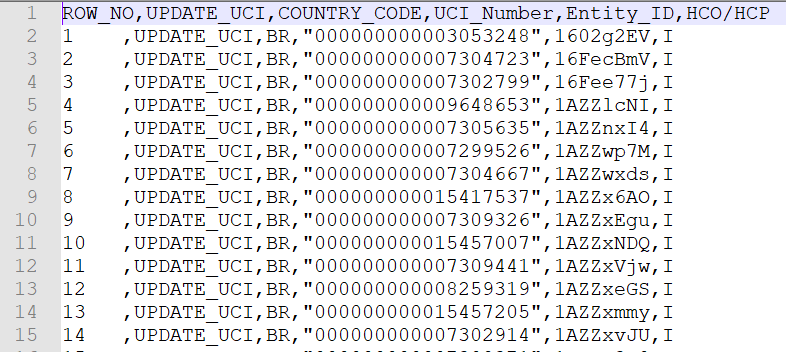
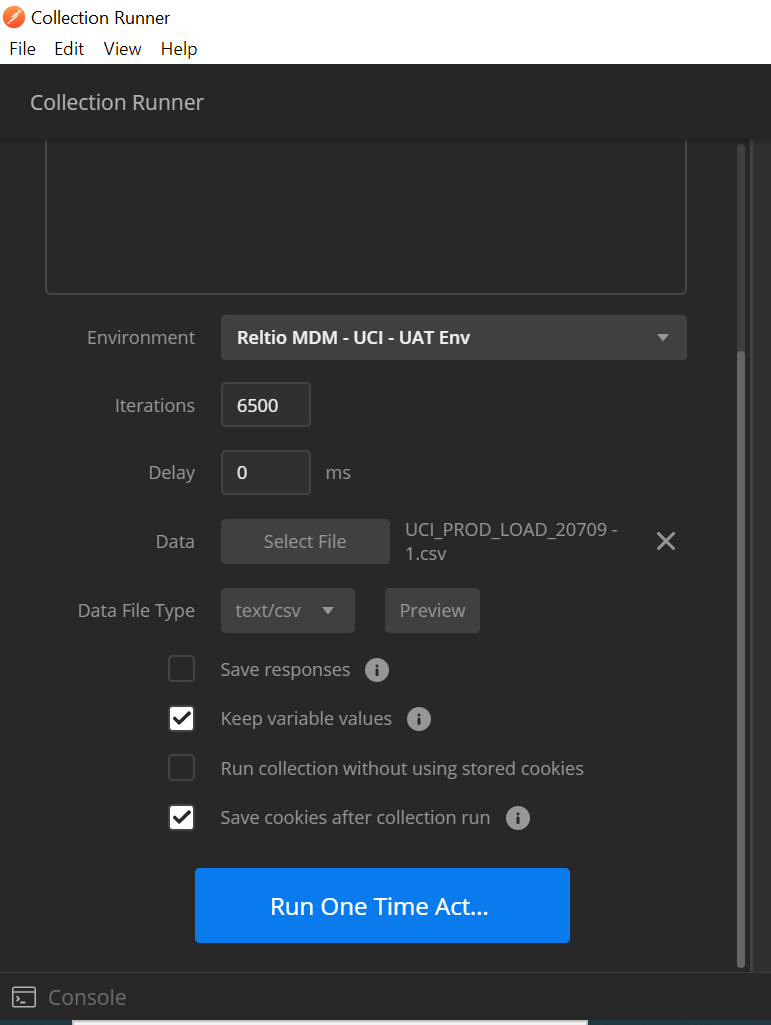 Data File Preview: