Jan 26, 2021

API Testing 'A Beginners View': Newman API Testing

Hi Everyone!!! Let's check out some details about NEWMAN 😊

Newman gives the capability of running Postman collections through the command line. It basically helps you automate your Postman tests with ease.

Got some insight on this from my daily worklife. So why wait Let's get started! 


Basic Steps of NEWMAN Kickstart:

  1. Step 1: Install NodeJS
  2. Step 2: Install Postman's Newman
  3. Step3: Create a Collection and Running Tests Scripts
  4. Step4: Exporting Postman Collection and its associated Environment file if applicable
  5. Step5: Running the Collection in Newman

Step1: Install NodeJS


Installing NodeJS is pretty straight forward, visit their download page here, download your platform version to install.

Note: Kindly make sure to install the latest higher version.


After installing, go to your Terminal and enter the command below to check if everything is fine to go.

  • node -v 
  • npm -v

You should see an output similar to the one below:

 

Step2: Install Postman's Newman :


Now that NodeJS is set up, we need to install "Newman" and some NodeJS modules that will be useful for our test report generations.


Run the below command:

  • npm install newman request rimraf newman-reporter-html newman-reporter-htmlextra --save --force
After installation you will see similar output:

Step3: Create a Collection and Running Tests Scripts

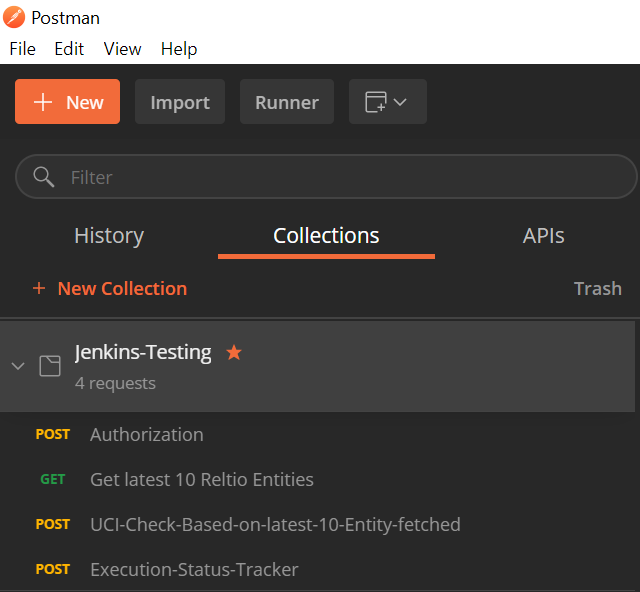
In Postman select "New" >> "Collection". Give a name to the collection. I’ll be using a sample collection in my local which has Test Scripts designed already just for the purpose of the explanation.

Sample Collection with Test Scripts:


Step4: Exporting Postman Collection and its associated Environment file if applicable


Under the ‘View more actions' option of the collection, select ‘Export’.
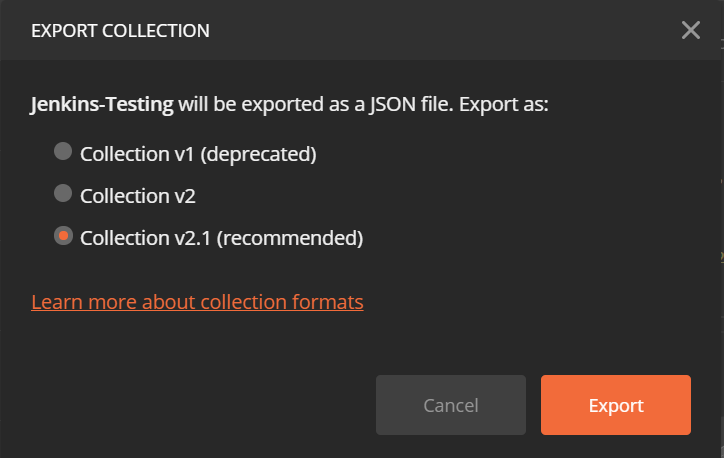

Save the Collection to your local directory. The collection should be saved as a .postman_collection json file.

Note: To export the environment variables, Go to the ‘Manage Environment’ section from the top right corner and click on Download, environment file will be downloaded as .postman_environment json file


Step5: Running the Collection in Newman

Open the terminal and navigate to where the Postman Collection and associated environment json file is saved. To execute the tests run the below command:

newman run Jenkins-Testing.postman_collection.json -e Reltio-MDM-UCI.postman_environment.json --export-environment Reltio-MDM-UCI.postman_environment.json

Similar output will be prompted:


Collection executed successfully through the command line.

Now somebody might think why did I pass the environment file twice in a different way. Let me explain it why? 

The Collection that I used above for my explanation needs an access token to be generated freshly for each run. Could we not just attach a token to the tests, export the collection and put them into our CI? No we can’t. That would work for a while but the tests would fail once the access token expires. So any access token I attach to my Postman collection to run in CI is eventually going to be invalid.


We need a way of automatically generating a fresh access token and passing it into our Postman tests. In CI terms, we need to be able to generate an access token on every run of tests. In order to achieve this, I have added an environment variable to store the access token that gets generated by a request of Authentication. So now when we send a request for an access token we can now grab that access token from the response and attach it to any future responses we need. But wait a min by POSTMAN the scenario will work fine but NEWMAN does not update the environment variables file during a run of tests. So to save the new values of the environment variables after a collection run, simply add this argument when running the collection that updates the variables: --export-environment OurEnvironmentFile

In our case :

newman run Jenkins-Testing.postman_collection.json -e Reltio-MDM-UCI.postman_environment.json --export-environment Reltio-MDM-UCI.postman_environment.json

That’s it and now we are familiar with the basics of NEWMAN.

Hope the article was useful! Happy Learning! 😊


Jan 18, 2021

API Testing 'A Beginners View': How to receive notification of POSTMAN Test execution completion in GOOGLE CHAT ROOM

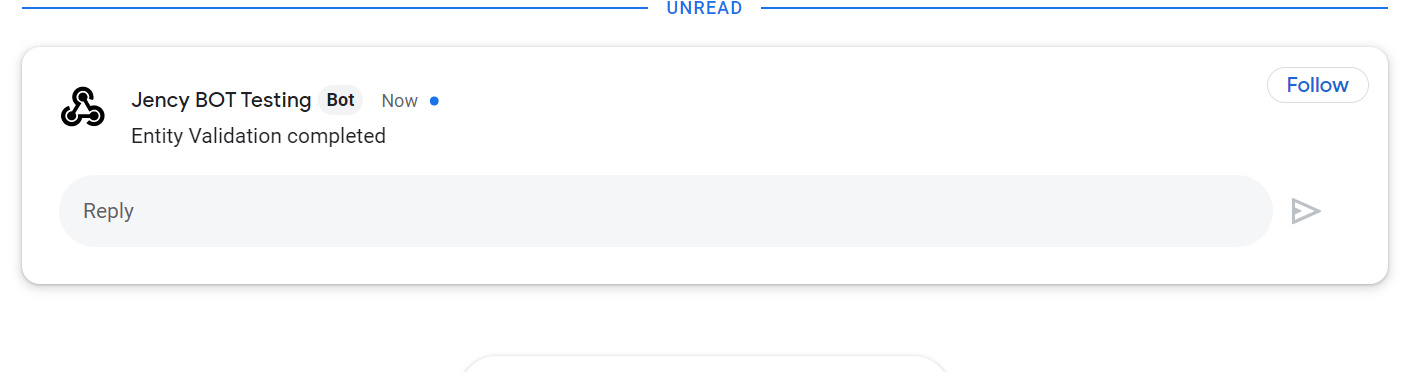
Google chat API is an interesting API that lets you to get notification of the Test Scripts execution completion for every run. Just install GOOGLE CHAT in your machine and follow the below steps and that’s it

Steps to it:

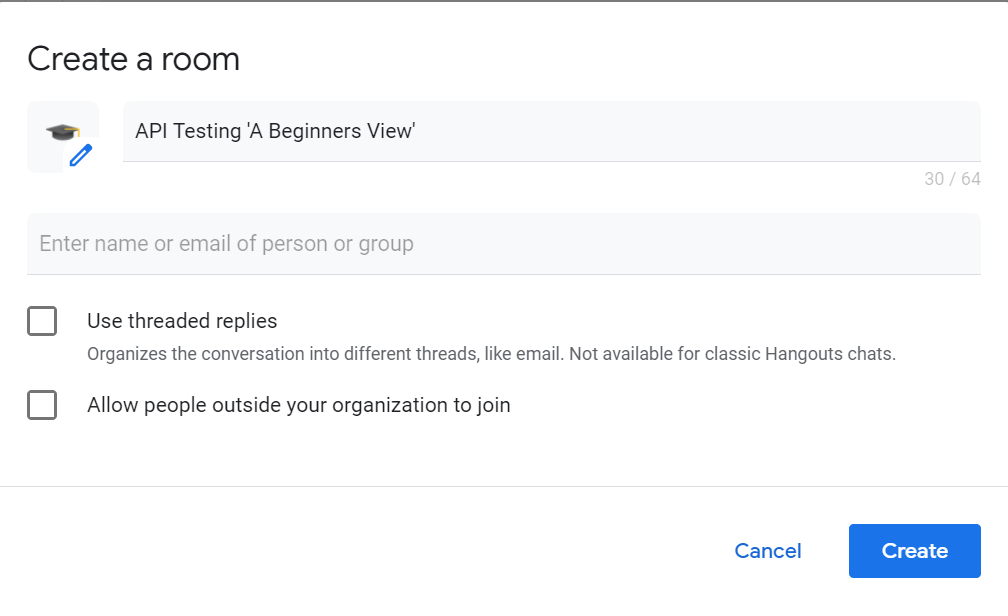
  1. Create a room in Google chat (Addin the member's list).

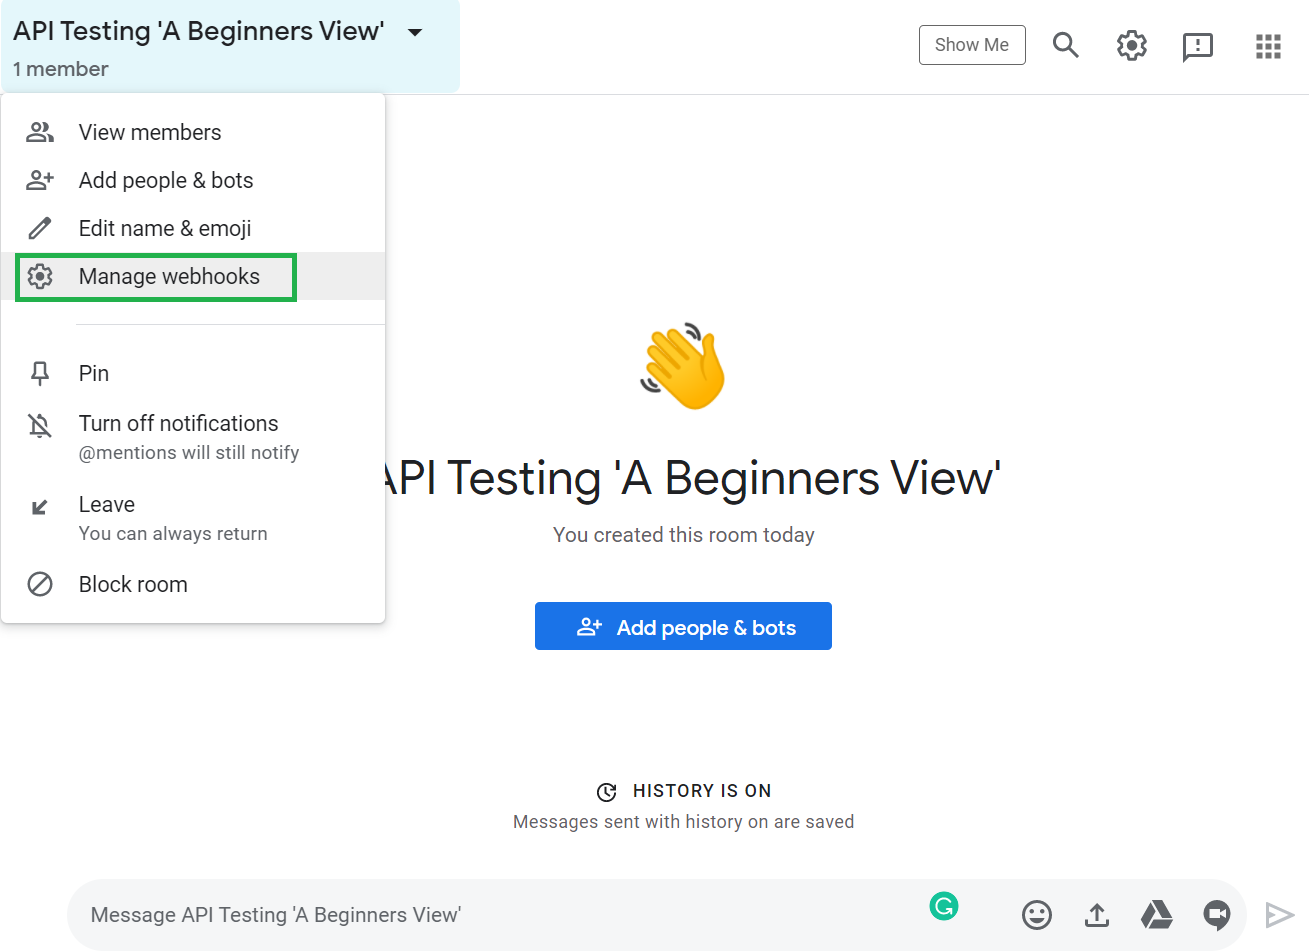
  1. Room is setup:

  1. Select “Manage webhooks” as displayed below:

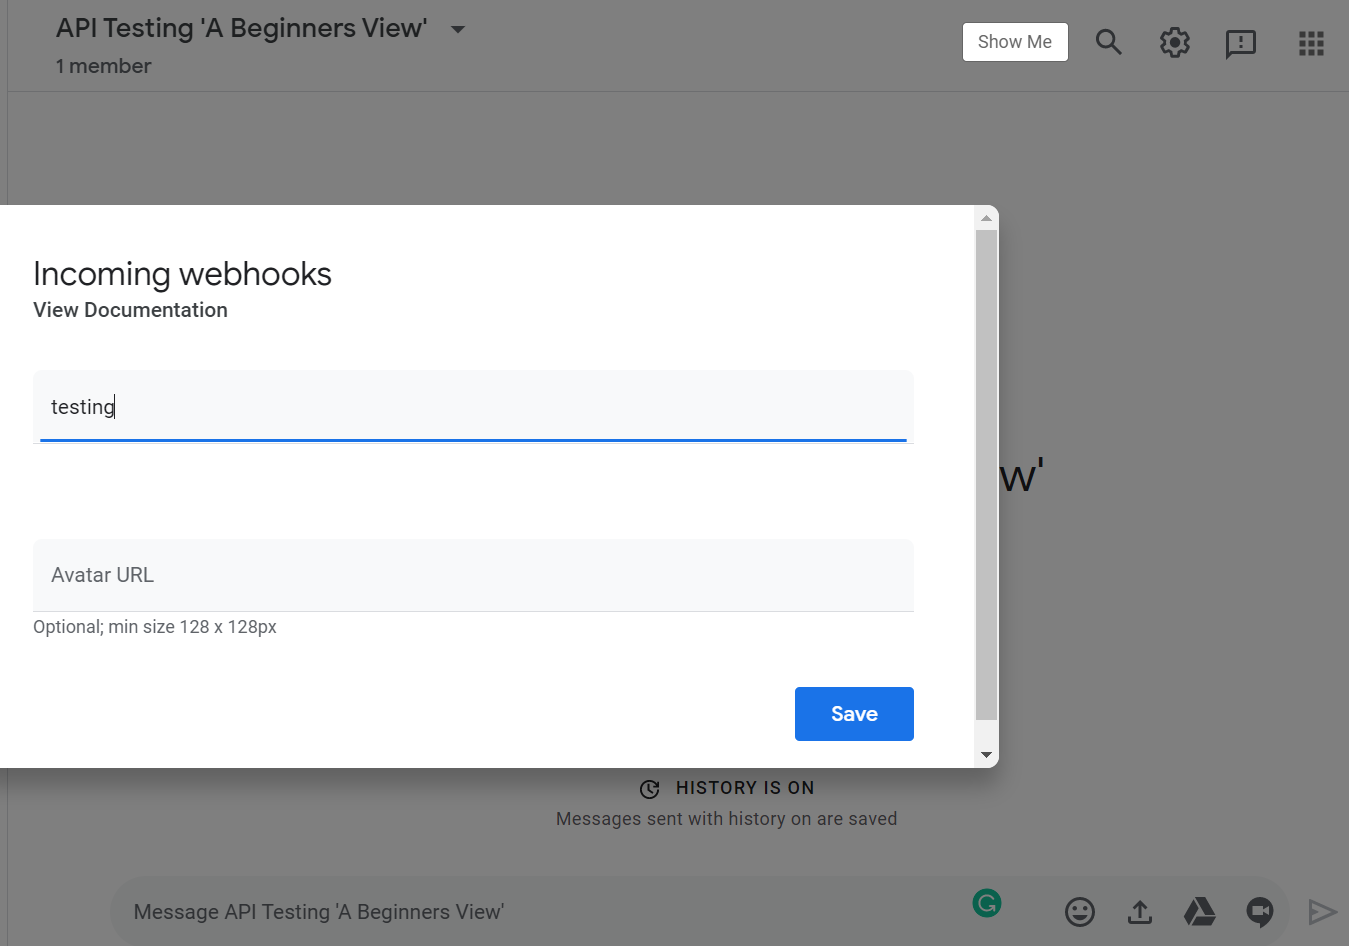
  1. Type any name as per your need and click save:

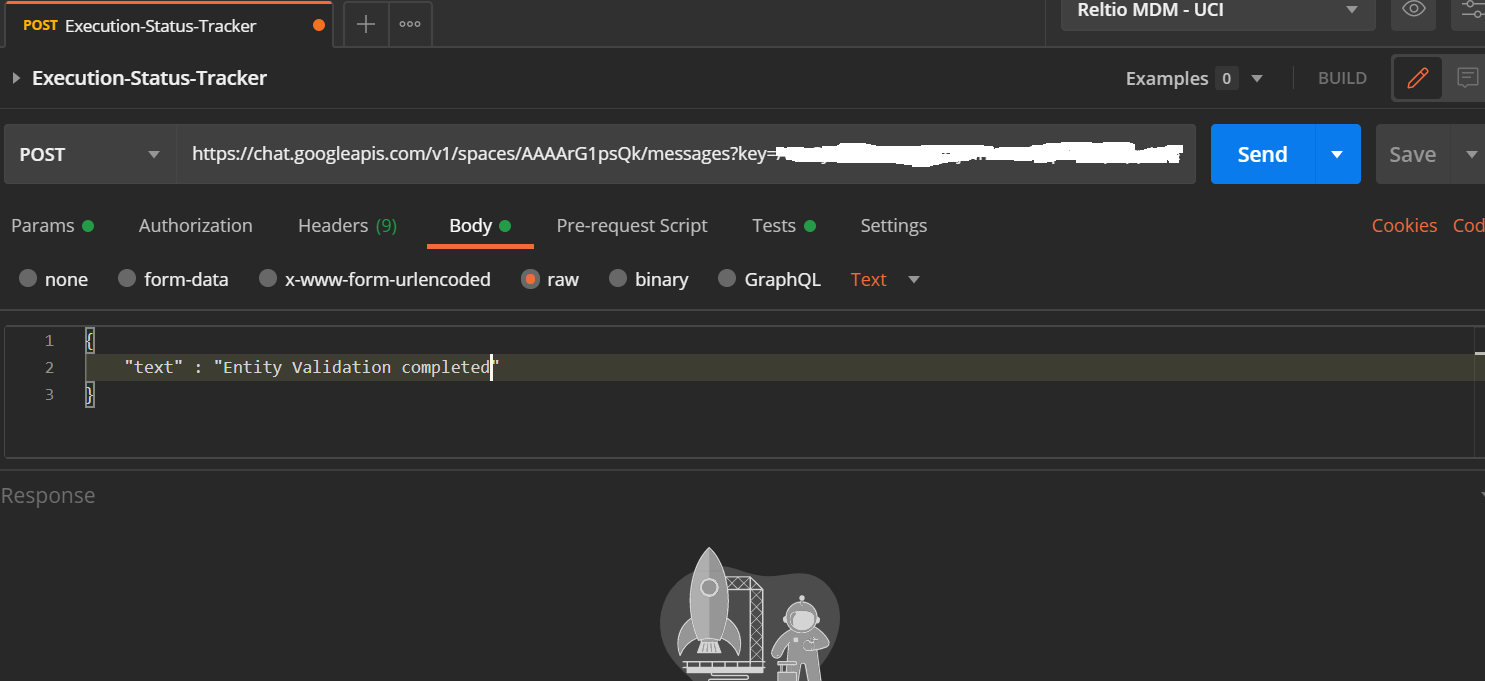
  1. Copy the link to the Clipboard. Open your collection/folders, just add this as a new POST request to the existing ones.

  1. Click on  “Send”:

In this BOT you can add some Test Scripts based on the previous requests execution status to showcase the Test Report.


Sample is below:

var resp = JSON.parse(responseBody);

console.log(resp);

  //Checking the Response Status Code

    pm.test("Response is Successful with Status Code 200", function () 

    {

    pm.response.to.have.status(200);

    console.log("Response is Successful with Status Code 200");

    });

// this counter is from previous step (in your script need to define it)

to check the completion of run

 const counter_check = pm.environment.get("counter");

 if(counter_check == 10

 {

     pm.test("Execution Passed" , function () 

        {

        console.log("Execution Passed");

        });

 }

 else 

    {

        pm.test("Execution Failed" , function () 

        {

        pm.expect.fail('Execution failed, please check test results of previous steps');

        });

    }


Happy Learning 😇

Hope this was useful 😇

Jan 4, 2021

Basic Collection for Beginner’s to kick start with POSTMAN - API Testing ‘A Beginners View’

Hello Friends!!!

Here is a simple collection for Beginners like me to kick start with POSTMAN :slight_smile:

Collection URL:

https://documenter.getpostman.com/view/12559118/Tz5p6xux

This collection contains:

Happy Learning!!! 😇

Dec 31, 2020

2020 WRAP UP!!!

2020 started with the devastating global pandemic, which continues to bring the world to a standstill. This year has been unprecedented for a number of reasons, with the COVID-19 crisis looming large. The good news is that we’ve almost made it to the end of 2020! Between the global pandemic, stock market volatility, lockdowns, and economic downturn by HIS GRACE we all managed to keep it going.

Professional pathway this year has been cool, where got to learn new technology and put my legs into the 'API Testing' world, away from the usual road of my Testing journey. Grateful to my company Billennium who gave me this opportunity to play around in 'API Testing' and to POSTMAN and its Community for being a mentor to date.

All this motivated me to write my own BLOG on 'API Testing' with some add-ons although being a Begineer 😇 Here is the link: https://softwaretestingcafebyjency.blogspot.com/ do check it out 😇

Hoping and Praying 2021 will be a safe and growing year for all of us!


Have a great year ahead!!!
Prayerful New Year!!!
Welcome 2021💥


Dec 3, 2020

API Testing 'A Beginners View': Environment and Variables In POSTMAN

In this post let’s try to have a better understanding of the Environment and Variables in POSTMAN


Let’s start with Variables: A variable is a bucket that holds values that can be changed. Suppose you are developing a mobile application. There are some values that will be used throughout the application or some values might be unique to a functionality. Hardcoding of values everywhere in the design is not a good practice in such situations variables can be used. Define a variable as per your need i.e. locally or globally and use its referenced name wherever needed. If you are required to update the value of a variable, just update the value where you have declared. Everywhere updated values will be used.


The same concept applies to Postman. We have many usages of variables in Postman. Let's check out a few of them:

  1. In our day-to-day work life, we might need to test systems in different environments like QA, Dev, Stage, etc which would have a different set of domains. Here variables make our job easier. We can store the domain name as per environment in a variable and can call that variable here.
  2. We can use variables at several places to make it parameterized such as Query- parameters, headers, authorization, request body.
  3. Variables can be used to chain requests in the collection. Extracting data from response, storing, and using it for another request as input are possible by using variables.
  4. Variables can also be used in Pre-request and Tests Scripts. 

Next, Let’s Understand Environment: Environment in POSTMAN is a set of variables that can be assigned a value and used during your work. The environment is tied to the current operating environment: each operating environment has its own POSTMAN environment. To visualize this, I have created an “API Testing 'A Beginners View'” environment with some variables.


There are two columns for the variable's value. The only difference is that if you share your environment with your team, then the value from the first column will be shared.


Let's check out some usage of Environments:

  1. We can create, share, duplicate, export, and delete an environment. 
  2. You can download it as JSON.
  3. Variables defined in an Environment are Local variables. It means you cannot use variables of an environment in another environment. To solve this we have another type of variable called Global variables. Global variables do not belong to specific environments. It is available in all scopes. You can not select multiple environments at the same time. In that case, Global variables will be helpful.